


A quality gun safe from Liberty is a wise, cost-effective investment to keep your valuables, firearms, jewelry, electronics, documents, and other important items safe and secure. Like all valuable objects constructed of metal, safes need basic maintenance to keep them functioning properly and to ensure they last as long as your legacy.
In this article:
How often should I inspect and clean my safe?
Cleaning and polishing the exterior of your safe
Cleaning your safe’s exterior hardware
Cleaning the interior of your safe
Avoid introducing moisture into your safe’s interior
Why location matters when choosing a place for your safe
One of the questions that we often hear is, “How do I clean and polish my Liberty safe properly?”
How often should I inspect and clean my safe?
Before we get into the details of how (and how not) to clean your safe, let’s talk about how often it needs to be done.
Some safe retailers may recommend you clean your safe once a month, but this is a flexible situation depending on several factors, including the frequency of use, the environment your safe is stored in, the contents of your safe, the humidity in your area, the dust and other particulates in the air, the natural oils and acids present in your particular skin, and more.
A business safe that is stored in a common, busy area and that may be opened several times a day, potentially by multiple users, will need more attention and cleaning than a home safe that is opened only once or twice a month.
For a home safe, many experts recommend inspecting your valuable items and firearms at least every two or three months to make sure there is no corrosion or rust occurring or progressing, and while you have these items removed, it is an opportune time to inspect the interior of your safe and vacuum it out or clean it if and when needed.
A safe that is kept in a clean, temperature and humidity controlled environment and that is rarely opened will likely not need its interior cleaned for many years, but it should still be inspected on a regular basis to make sure no environmental factors have started to cause any problems.
Cleaning and polishing the painted exterior of your safe.
The top and other horizontal surfaces of your safe are the most likely places where dust and dirt may accumulate. Start by using a soft duster or clean, lint-free cloth to remove all visible dust from these surfaces.
It’s important to remove visible dust and dirt from painted surfaces before wiping with a rag, because if you don’t remove the particles first, they can adhere to the cloth and act as a kind of sandpaper, causing tiny scratches that may progress if the practice continues.
After any surface dust has been removed, painted surfaces (including painted logos and silkscreens) and hardware should be maintained as follows:
Clean painted surfaces with water only (when needed, to remove fingerprints and smudges, etc.), using a clean, soft cloth. A new, dust- and lint-free microfiber cloth is best. If necessary, a very mild soap and water solution may be used. However, plain water is best for protecting the finish and any silkscreened logos or decals.
Wipe logos and silkscreened images/lettering gently. Do not rub or polish logos or silkscreens.
For shiny, painted exterior finishes, a mild furniture polish/wax such as Pledge, or a mild, non-abrasive automotive wax such as carnauba is appropriate, if desired, for gently polishing the exterior painted surfaces of your safe after they are clean and dry, but again, take care not to get any cleaners, wax, or solvents near any silkscreened logos or decals, and never use a motorized polishing wheel or other similar tool.
Flat, “matte,” or textured paint finishes don’t require wax or polish
Note: some safes have a “flat” painted finish, rather than a highly polished, shiny painted finish. Flat, matte, or “textured” paint finishes do not need any polish, nor should you apply any waxes or polishes to these painted surfaces. Simply dust the exterior with a soft, non-abrasive duster or soft cloth, wipe gently with a damp, clean, lint-free cloth if necessary, and keep it clean and dry, and your safe’s exterior finish will last several lifetimes if your safe is stored and maintained properly.
Cleaning your safe’s exterior hardware (handle, dial, hinge caps, etc.)
Your Liberty safe’s hardware items (i.e., the handle, lock dial and ring, hinge caps, etc.) are plated and include a protective coating to help prevent tarnishing.
Clean this hardware with a soft, clean cloth moistened with a bit of water only. Do not use metal polishes or solvents on plated hardware surfaces. Take care not to get any water into the dial or digital keypad area, or into the hinges. Don’t use a soaking-wet cloth to clean your safe.
Cleaning the interior of your safe
It’s unlikely that the interior surfaces of your safe will become soiled or significantly dirty or dusty, unless your safe spends a lot of time open to allow dust to enter and settle inside.
However, old books and documents, as well as firearms and other metal valuables, may sometimes leave debris or oils on the interior surfaces of your safe if not properly stored. If you’re not extra careful about firearm cleaning solvents and oils, there may be some instances where the interior carpeted surfaces might become stained or dirty. It’s much better to use proper firearms storage socks or keep guns placed on clean, non-reactive, and non-porous surfaces, and ensure that any surfaces touching the carpeted area of the safe are not leaving oil or grease, which is very difficult to remove.
In general, a safe that is frequently opened and having items inserted and removed has a greater chance of getting dirty to the point that it needs to be cleaned.
Also, as noted above, it’s a wise practice to periodically remove all items from your safe to check inventory and confirm that any corrosion or decay is not occurring or progressing, and while you have the safe empty, it’s a good time to clean it out if needed.
To clean the interior of your Liberty safe:
- Remove all the items and the shelving (if possible) so you have full access to the interior.
- Vacuum all the surfaces, with particular attention paid to the corners, and make sure the bristles of any brush or nozzle you use are very clean.
- Use a clean, lint-free microfiber cloth to wipe off any areas that may need extra attention. If absolutely necessary, a mild soap and water solution may be blotted on with the cloth, and blotted off with a new, clean cloth (see the section on moisture below). Allow the area to fully dry before reinserting the shelving and safe contents.
- Do not use carpet cleaner or other potentially caustic solvents.
- Keep water, soap, etc. well away from dehumidifiers, lights, and other electronics in your safe.
Avoid introducing and trapping moisture inside your safe
Dampness, water vapor, moisture, humidity--call it what you will--is something that you don’t want to introduce or trap inside your safe if at all possible. If you are determined to use a soap and water solution to try to clean the interior of your safe, use as little as possible, use a mild/weak soap and water solution, and with a damp, soft cloth or piece of spare towel, blot the dirty/stained areas gently rather than pour or spray a carpet cleaner or soap-and-water solution directly onto the fabric.
At no time do you want the carpeted portions of your safe wet or saturated with water or cleaning solution. Carpet cleaners and solvents can be very caustic, and the fumes may interact with your valuables as well as gun solvents and oils in destructive ways. Avoid them.
Be as judicious and as sparing as possible with the soapy water, and blot it as dry as possible with a fresh, dry cloth before setting it to dry fully in the open air. If possible, remove the section that needs to be cleaned, and perform any cleaning well away from the safe, and allow shelves or inserts to air dry fully before reinstalling them into your safe.
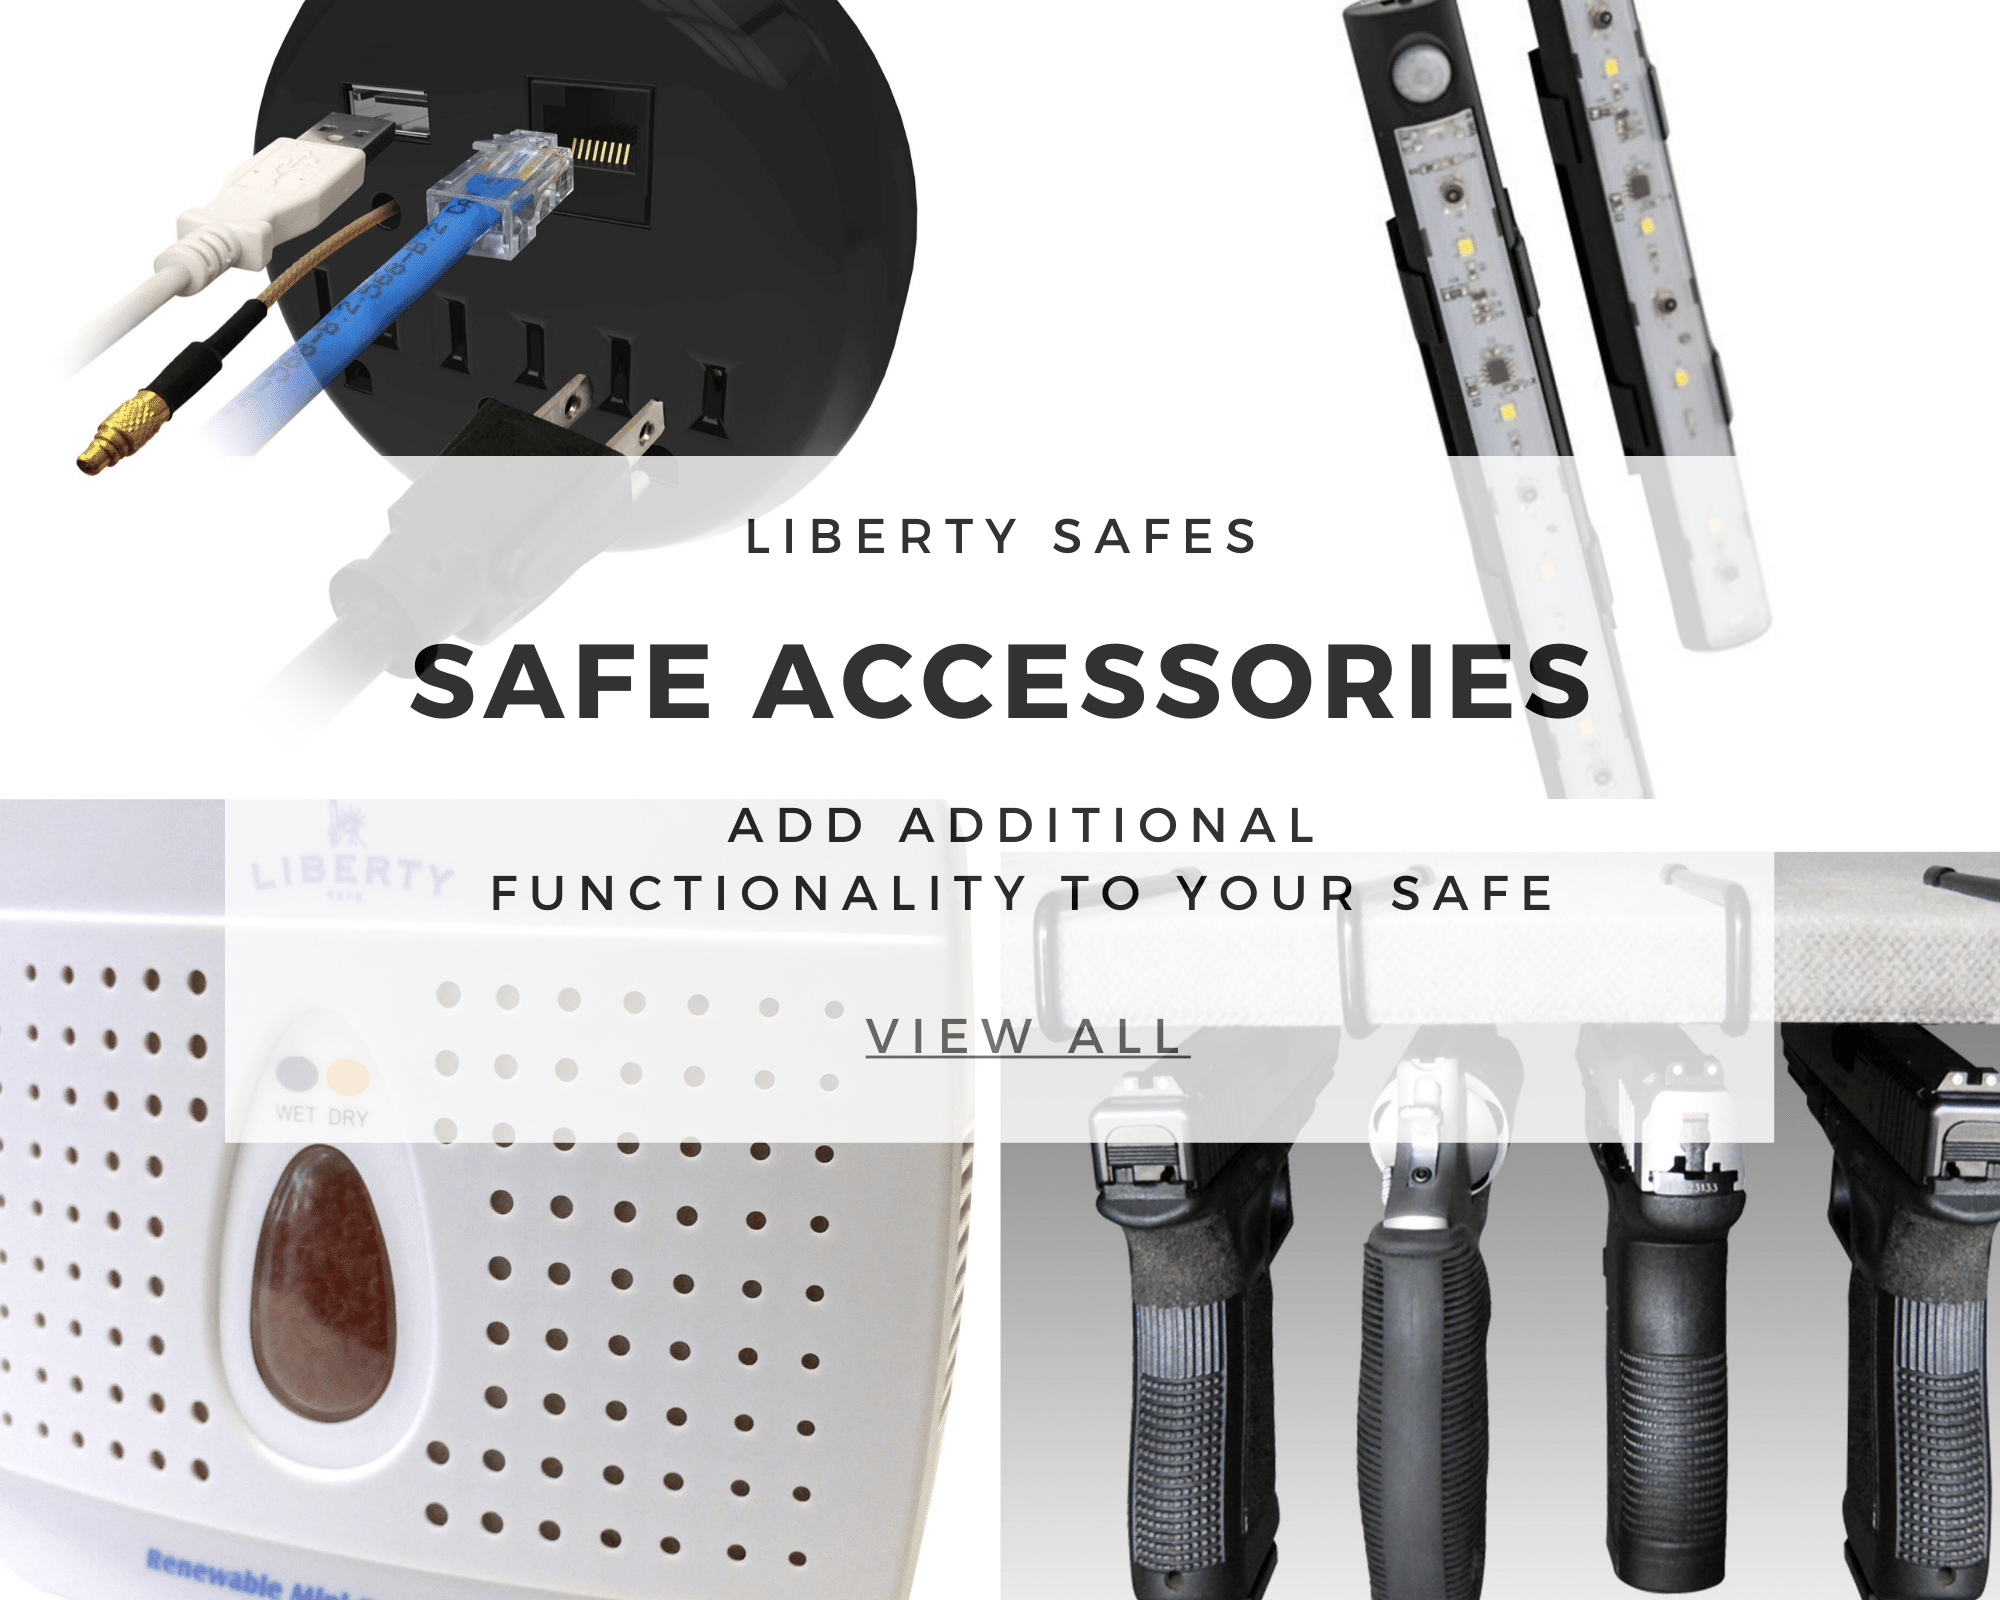
You should definitely invest in a dehumidifier to help maintain an optimal humidity level inside your safe, particularly if you live in an area with high relative humidity. This not only will help prevent mold and mildew from growing inside your safe, but can save thousands of dollars of rust/corrosion damage to jewelry, electronics, and firearms stored inside your safe.
Location, location, location: keep your safe stored properly for maximum lifespan
Liberty safes are the toughest around, but like any object made of metal, where and how they are stored makes a huge difference.
Safes subjected to non-recommended, frequent temperature swings, exposure to moisture and humidity, safes stored in unheated garages (also not recommended), safes handled often and by multiple users, and safes placed in harsh direct sunlight will need more maintenance and care than safes that are kept in a stable, temperature- and humidity-controlled environment, away from direct sunlight and dust.
In addition to your safe itself, keep the area around your safe swept/vacuumed and clean, so dirt and dust doesn’t get kicked up and settle inside your safe when you open it to inspect, add, or remove contents.
Keep the door swing area well clear to prevent injury and obstructions, as well as to prevent damage to the painted surfaces of the door.
Care for your Liberty safe properly and it will take good care of you and your children, and even their children. Keeping your safe clean and properly maintained will go a long way toward keeping your valuables safe and secure from fire, theft, and other damage.


